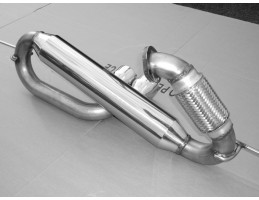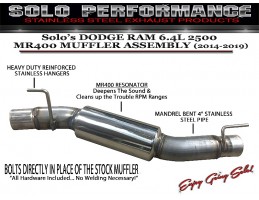
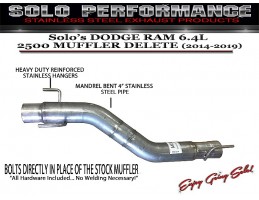
Reference: 991904-SL
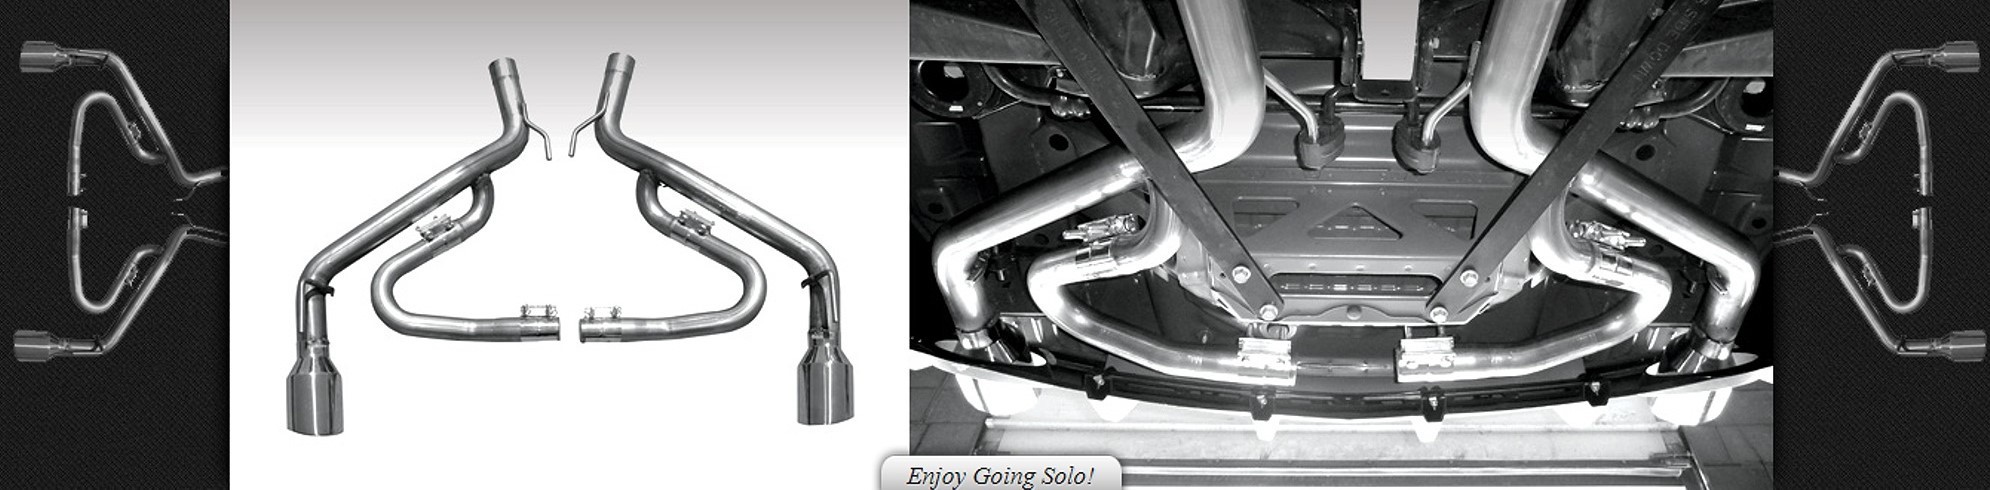
2014-2019 Dodge Ram 2500 6.4L Solo 4” Muffler Delete (991904-SL)
Exhaust Kit Details This product includes 4” stainless steel direct fit muffler delete, completely bolt on, no welding, and all necessary hardware. Application Dodge Ram Pick Up 2500 6.4L (2014-2019)
Price
$259.19
In stock